Miscellaneous Charges
Miscellaneous Charges Overview
Miscellaneous Charges allow you to enter bank charges, service fees, ATM withdrawals, Point of Sales and debit card transactions, etc.
Entry of miscellaneous charges is very similar to Direct Expense Checks. There are two key differences. A check number is not required for a miscellaneous transaction. An optional transaction number is available, which will be listed under the check # column on reports. And obviously, there is no option for printing miscellaneous charges because there is no need.
From the Checkbook Register window, click Miscellaneous.
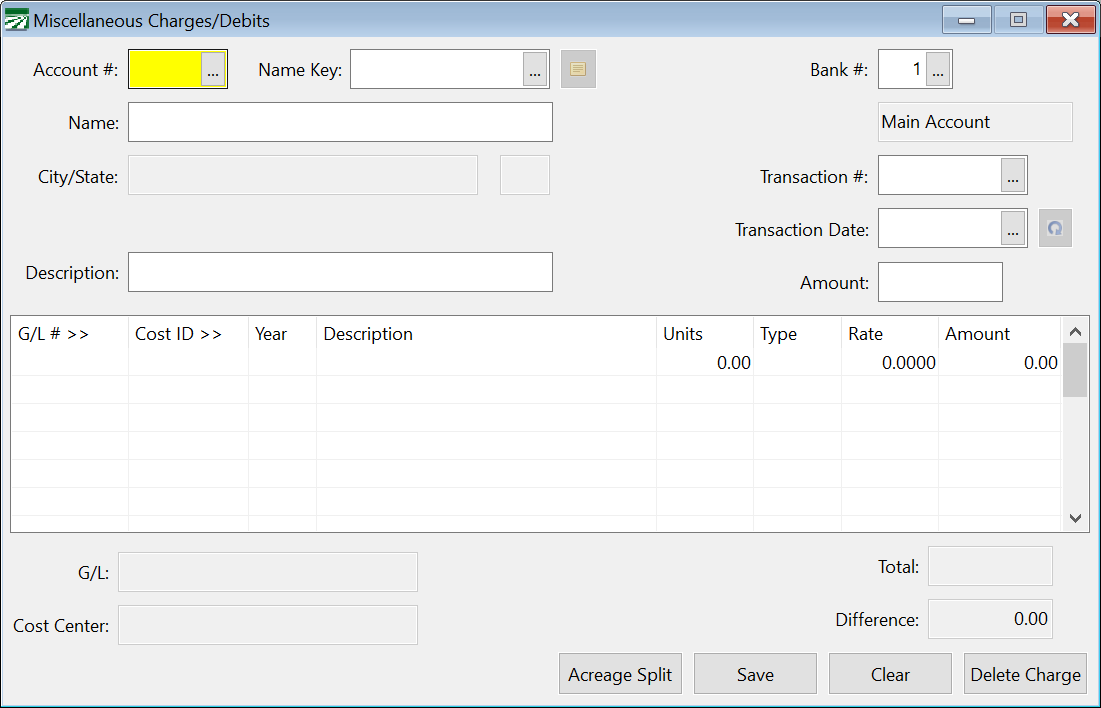
Depending on your specific settings, you may have certain entries enabled or disabled and your entry screen may appear slightly different.)
Account # / Name Key
Enter the account number or name key for the vendor you want to assign this charge to. On either of these two fields, you can press [F4] or click on the lookup buttons to open the vendor account lookup window.
Bank #
This is the bank account that is currently selected to write checks from. You can click on the Bank # entry, or press [Ctrl]+[B] to activate it. The bank account number that is displayed in the Checkbook Register window will appear here automatically.
Advanced uses may wish to change the bank account number here, however note that the Checkbook Register will continue to display information from the original bank account. That means that as you enter checks, you will not be able to see updates on the Checkbook Register.
The recommended method is to change the bank account displayed in the Checkbook Window, then click on the Miscellaneous button to reopen the Miscellaneous Charges window with the new bank account.
Name
If you do not select a vendor account, you can type in the name to use for this charge. Otherwise the vendor's name will appear here automatically.
This is a convenient feature if you are writing a "one time" charge and don't expect to enter other charges or checks to the same company or person. If any of the following are true, however, you should take the time to create a vendor account and use that instead of manually typing in the name:
You will need to send the company/person a 1099.
You expect to write additional checks or enter other charges and want to be able to view or retrieve a list of checks written to this person/company.
Transaction #
If there is a transaction number associated with this charge, you may enter it here. Otherwise this entry may be left blank.
Transaction Date
Today's date will appear here automatically on your first entry. If you change the transaction date, this date will be retained for subsequent entries.
Description
The description you enter here will be automatically entered on each line item (but you may change it on each line item of course).
Amount
Enter the amount of the charge here.
Miscellaneous Charge Line Item Entry
Every miscellaneous charge will have one or more line items. This is where you tell The Farmer's Office which expense accounts and cost centers you want to assign the expense of this transaction. Some systems also refer to this as the detail portion of the transaction.
As you enter the information on the line items, the description for the general ledger account, cost center, and job code will appear in the boxes at the bottom left. The total of lines will also be displayed to the right, as well as the difference between the charge total and the total of the line items. Before you can complete a miscellaneous charge entry, the line items must balance with the charge total.
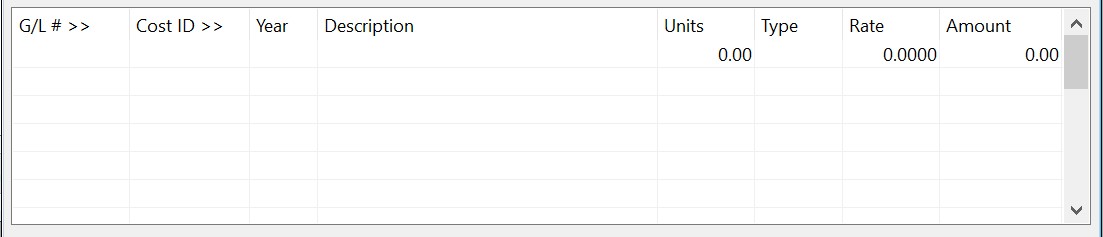
On each line item you will enter the following information:
G/L #
If you entered a default general ledger account for the vendor, that G/L # will be entered automatically here. You can change it if necessary.
Press [F4] to get a lookup list of general ledger accounts.
Grower #
If you are paying an expense on behalf of a grower and this should be deducted from the grower’s gross return, enter the grower number here. Press [F4] to get a lookup of grower accounts if you are not sure about the account number. By entering a grower account and an expense #, the program will create a grower charge on the liquidation report.
Expense #
Enter the expense number for the grower charge to use.
Lot #
If you are using the Lot Accounting system, you may also enter the lot number that this charge should be against. If you leave the lot number blank, then this charge will appear on the Create Grower Payable window after lots have been liquidated. See the Lot Grower Liquidations manual for more information.
Job
This is used as a subcategory for cost accounting reports. If you are not using subcategories, then this column will not appear. Depending on your settings, this may have a different heading (such as Operation, Phase, or Activity). You can press [F4] for a lookup of job codes.
Cost ID
If this is a direct crop expense, enter the cost center to charge this line item to. Press [F4] to get a lookup of cost centers.
Year
This is the crop year to charge this line item to. The crop year will appear automatically for you if a default crop year has been entered either in the system file or on the cost center itself.
Description
The Description you entered above will appear here automatically. Change it if you want to note more details. For instance, you might have entered "Chemicals" above, but on the line items enter the brand names of the chemicals purchased on each line item.
Units
If applicable, enter the units here. For instance, you might enter the number of tons of fertilizer purchased, or gallons of a pesticide, or number of vine stakes, etc.
Type
Enter the unit type, if applicable. This could be tons, pounds, gallons, CWT, each, etc.
Rate
If applicable, enter the rate per unit here. This entry is optional, check your program setup to see if it is enabled. If you enter both the units and the rate, they will be multiplied out and the result will appear in the Amount column.
Amount
The amount will default to the difference between the total expensed on the line items and the charge total.
In other words, on the first line item you enter, the amount will default to the charge total. In many cases, miscellaneous charges only have one line item, and so this saves you from typing in the amount again.
However, if you will be splitting up the amount into separate line items, simply type in the amount for this line item and it will replace the amount that is already there. On the last line item, the amount should be correct
Once the line items balance with the charge total, the Save button will automatically be highlighted. Press [Enter] or [Space], or click on the Save button to save the charge and clear the window for a new entry.
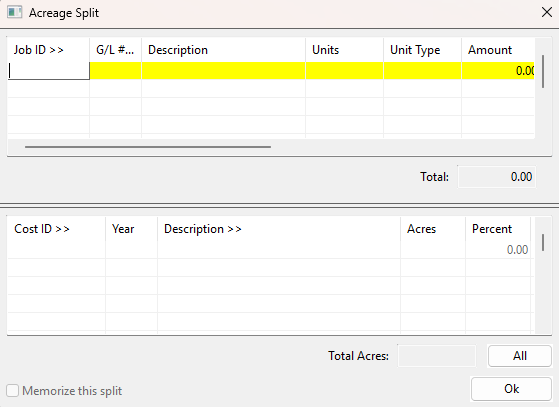
Acreage Split
Acreage Split Overview
This feature allows you split miscellaneous charges amongst multiple cost centers. When you click Acreage Split, the following window will open: