Labor Analysis Report
Labor Analysis Overview
The Labor Analysis Report can be used to analyze the payroll check detail for any date range. This report allows give you a wide range of selection criteria and lets you select the ordering of the report, which subtotals will be printed, and whether the report is printed in summary or detail mode.
The key to this report’s flexibility is the ordering selection. You can select any of the fields that appear on the report for the order and use multiple fields. After selecting the fields for the report order, you can choose which of those fields you want the report to print subtotals for.
This means that this one report can be used to answer many different questions. For instance, you might run this report in Cost ID, Job ID order, with subtotals printed for both fields, to see how your labor is allocated across each cost center and job code. Another time, you might want to use the report to analyze piecework wages and print the report using the Hourly Rate field for the order (this will list employees from least productive to most productive). If you want to find out which employees have required minimum wage adjustments on their checks, you could select the MW wage type and print the report in Employee, Check Date order.
These are just a few of the possible uses for this report. If you have a question about your payroll, it’s very likely this report can give you an answer.
Go to Payroll > Reports > Print Labor Analysis Report.
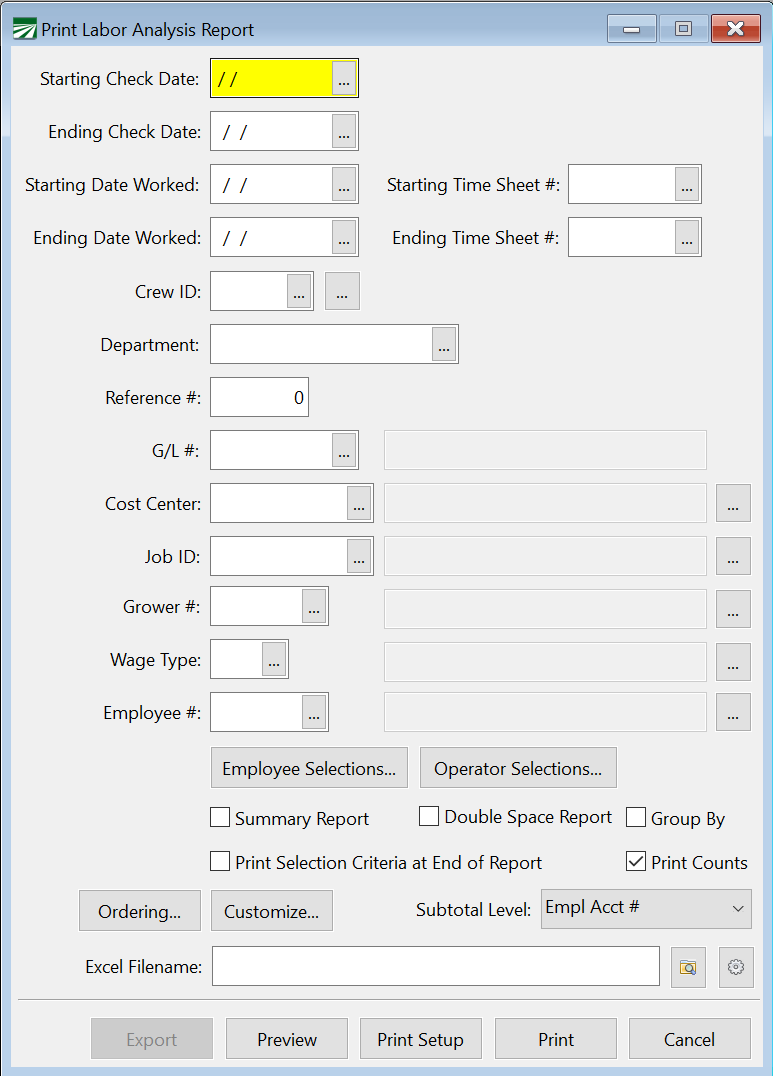
Starting Check Date / Ending Check date
Enter the starting and ending date range to select the checks to print. Keep in mind that the check date is used to select checks, not the pay period starting and ending dates. Click on the lookup button or press [F4] to select a date from the calendar popup.
Starting / Ending Date Worked
Enter the starting and ending dates for your report.
Starting Time Sheet # / Ending Time Sheet Number
Enter the starting and ending time sheet numbers for the report.
State*
Those doing Multi-State payroll have the option of entering a specific state. Enter the state’s appreviation and the report will only show employee’s from that state.
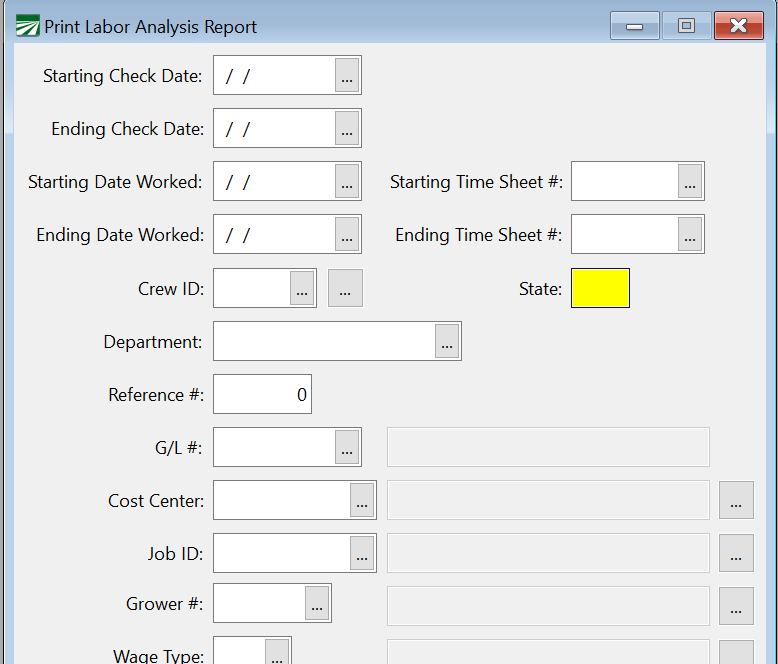
Note This option will only appear if you have multi-state withholding seelcted in the Program Setup.
Crew ID
If you only want employees on a specific crew printed, enter the crew number here. Otherwise, leave this entry blank to print all crews.
You can also select multiple crews by clicking the button to the far right of the Crew ID entry. Select your crews and click Ok. The entry will then show ‘Mult’.

If you have employees that worked on multiple crews in the same pay period, the report will select only the detail lines that match the crew number(s) you enter.
Department
If you would like to print a report for a specific department, select that department here.
Reference #
G/L #
Enter a labor expense account to select for this report. Press [F4] or click on the lookup button to use the lookup to select an account. Leave this entry blank to select all detail lines.
Cost Center
Enter a cost center to select for this report. Press [F4] or click on the lookup button to select a cost center from the lookup. Leave this entry blank to select all detail lines.
The lookup button to the right of the cost center description can be used to select multiple cost centers to print the report for. You can also press [F12] to activate the multi-select lookup
Job ID
Enter a job code to select for this report. Press [F4] or click on the lookup button to select a job code from the lookup. Leave this entry blank to select all detail lines.
The lookup button to the right of the job code description can be used to select multiple job codes to print the report for. You can also press [F12] to activate the multi-select lookup.
Grower #
If you are a farm labor contractor, you can enter a grower account number here to select for this report. Press [F4] or click on the lookup button to select a grower account from the lookup. To select detail lines for all growers, leave this entry blank.
The lookup button to the right the grower name can be used to select multiple grower accounts to print the report for. You can also press [F12] to activate the multi-select lookup.
Wage Type
If you want to print the details lines for a specific wage type, enter the wage type here. Click on the lookup button or press {F4] to select a wage type from the lookup. Leave it blank to select detail lines for all wages types
Employee Selections
You can use the Employee Selections window to further filter employees, including H-2A if you have H-2A employees.

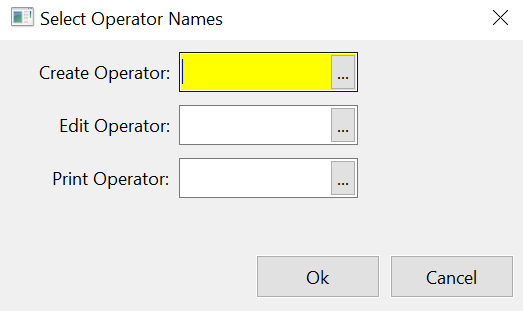
Operator Selections
Filter using operator information.
-
Create Operator: This would be the user that created the check/line items.
-
Edit Operator: If an entry was edited, you can filter edits by operator.
-
Print Operator: You can also filter the report by the operator that printed the check.
Summary Report
Select this box if you only want the subtotals and don’t want to see all of the detail lines on the report. Leave it deselected to see all of the detail on the report.
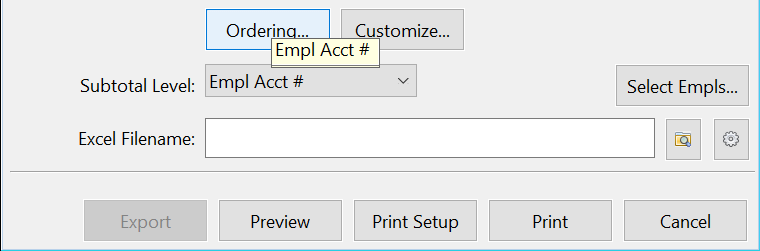
Ordering
Click on this button to select the order that you want to print the report in. See the section ‘Selecting the Order for the Labor Analysis Report’ for more information.
Customize
Adjust settings on your report to customize it the way you want.
Subtotal Level
This setting allows you to pick which field(s) the report will print subtotals for. Each field that has been added to the ordering sequence for the report will appear here, in the order that you selected.
The report always includes subtotals for any fields that come before the field you select as the Subtotal Level. For example, if the report order is Crop Center, Job ID, Check Date and you select Job ID as the Subtotal Level, the report will print subtotals by Job ID and by Cost Center.
If the report order is Crop Center, Job ID, Wage Type, Rate and you select Wage Type as the subtotal level, you will get a report with subtotals for Wage Type, Job ID, and Cost Center.
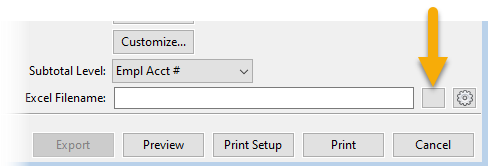
Excel Filename
If you would like to export the report and save it as an Excel or CSV file, click the button indicated below to choose a location to where the file will be saved.
Selecting the Order for the Labor Analysis Report.
To see what the current report order is, place the mouse pointer over the Ordering button. A tool-tip will appear that shows the fields that are currently use for the detail report order.
To change the report order, click on the Ordering button, and the following window will open:
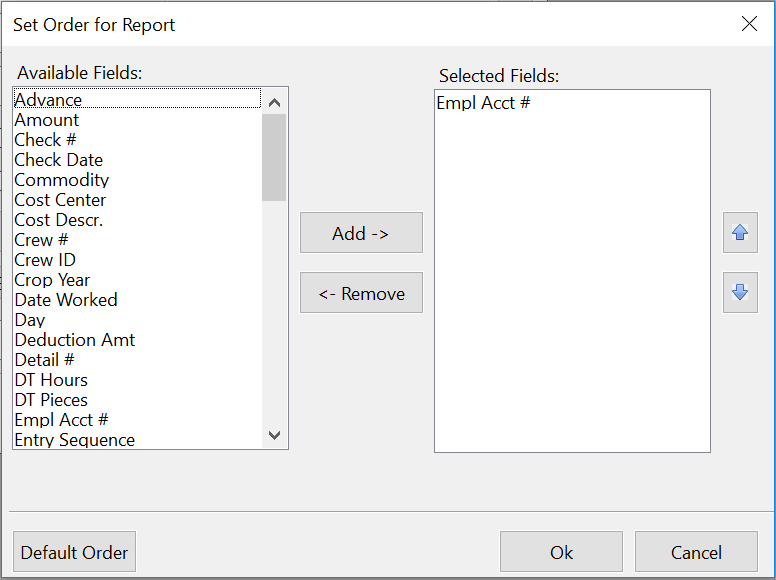
The list on the left side of the window shows you the fields that are available for ordering the report. The list on the right side of the windows shows you the fields that are currently selected for ordering the report.
To add a new field to the selected list, first highlight it, and then click on the Add button. To remove a field from the selected list, highlight it and then click on the Remove button.
If you want to change the order of the fields in the selected list, highlight a field in the list and then click on the Move Up and Move Down buttons.