Equipment Setup
Equipment Setup Walk Through
Equipment Cost Centers allow you to track costs for repairs, maintenance, and operation of individual pieces of equipment. In addition, you may also charge the cost of using equipment to the various Cost Centers when equipment is used. Equipment costing is an optional feature that must be turned on in the Program Setup.
Once enabled, you can find this window at Cost Accounting > Equipment Setup.

Equipment ID
Each piece of equipment must be assigned a unique ID number, just like your Crop Cost Centers.
Active
Select this box if the equipment is currently being used. If you are no longer using an Equipment ID entry, uncheck the box and this entry will no longer appear on lookups or equipment lists.
Description
Enter up to two lines for a Description of each equipment.
Year
Enter the model year for this equipment entry (Optional).
License # / VIN
If applicable, enter the License Plate and VIN numbers of the equipment.
Chargeout Rate
This is the default rate to charge crop Cost Centers per hour for use of this equipment.
Last Used On
This will display the last time it was used. This updates automatically.
Crop Year / Hours Used
This grid displays the total amount of time that the equipment was used for each Crop Year.
Billing Settings
The Billing Settings tab can be used to bill a customer for use of this equipment. The following entries can be used to do this.
Bill Expenses posted to this Equipment ID to…
Select this box to bill this equipment’s expenses to a customer.
Customer Acct #
Select the customer by entering the account number here or using the lookup button.
% of Expenses to Bill
Enter the percentage of the total equipment expenses that you would like to bill to this particular customer.
Labor Markup
Select whether or not you will mark up these expenses. If so, add the markup percentage.
Billing Rates
The Billing Rates tab can be used to set up certain rates for this equipment for individual Job IDs. These rates will override the Bill Rate entered above. To add a rate, simply select a Job ID and enter the rate. For more info on how to do this, see the prompts below.
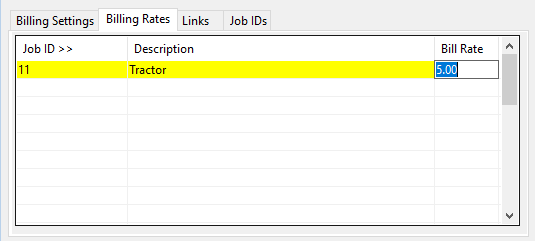
Job ID
Enter a Job ID. You can also press [F4] or click on the Job ID heading to bring up the Job ID Lookup.
Description
The Description of the job will automatically appear in this box.
Bill Rates
Enter the billing rate for the job.
Links
Use the Links Tab to link this piece of equipment to another piece of equipment, an employee, G/L # or Job ID.
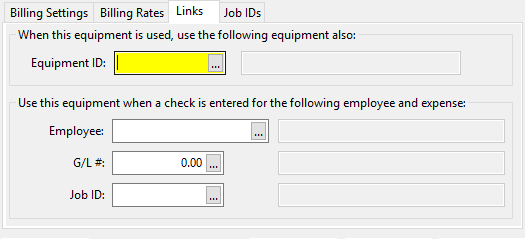
When this equipment is used, use the following equipment also:
You can link one piece of equipment to another so that when the first one is used, the second one is automatically used as well. Enter the ID of the second piece of equipment here, or click on the lookup button (or press [F4]) to select an entry. Click Clear to clear the secondary equipment ID.
Use this equipment when a check is entered for the following employee and expense:
These entries enable you to set this equipment entry as the default when you are entering a check for a particular employee and job. You must select the employee that will be using this equipment, as well as the job by entering the G/L wages expense account and Job ID (if you are using Job ID’s). When you are entering a check that matches all of these entries, the equipment ID will be entered automatically for you on the check line item.
Click Clear to clear the employee, G/L #, and Job ID fields.
Job IDs
This tab allows you to add a validation check when entering data regarding this piece of equipment. As seen below, this is a grid of Job IDs. If you add a Job ID to this list, the program will only allow you to use this equipment with Job IDs that are on this list.
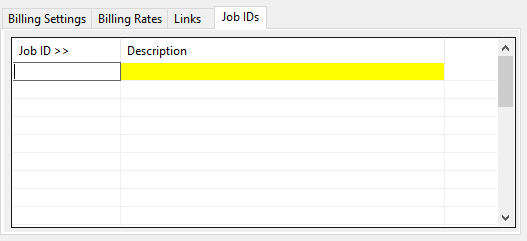
If it is left empty, this option is deactivated and you can use this equipment with any Job ID. We recommend leaving this area blank, but it can be used as an added precaution.