Paid Invoice Analysis Report
This report is similar to the Sales Analysis Report except that it includes invoices that have been paid. The date range that you enter selects invoices that are paid in full for that date range, not invoices that are billed in that date range.
Go to Receivables > Reports > Paid Invoice Analysis Report.
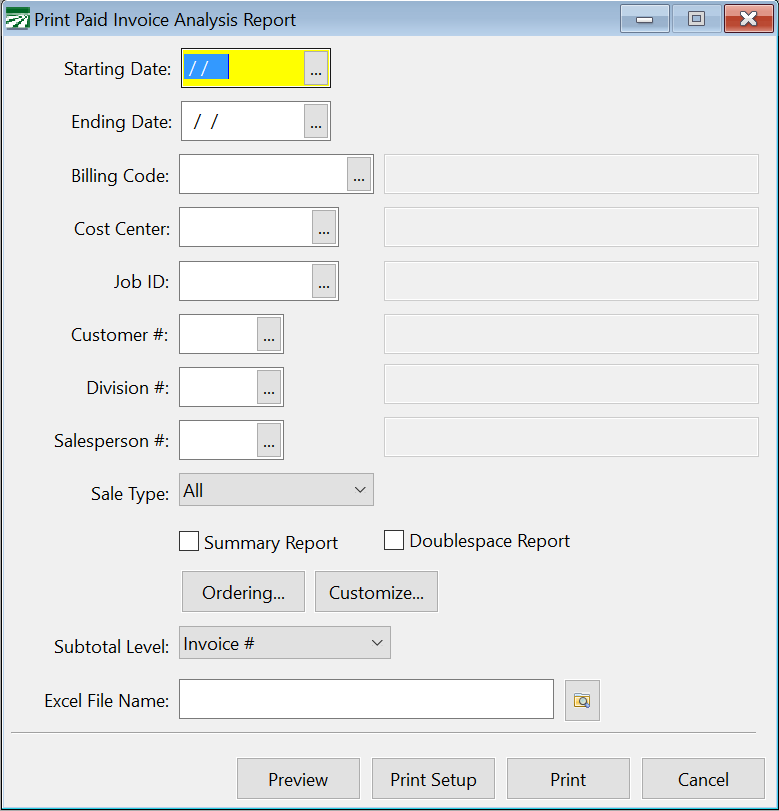
Starting Date / Ending Date
Enter the date range for the report. The report will only include invoices that are paid in full for the date range that you enter. Invoices that are partially paid will not be included at all on this report.
Billing Code
You can print the report for a single billing code or leave this entry blank to include all billing codes.
Enter a Cost Center to print a Sales Analysis Report for a single Cost Center. Press [F4] or click on the lookup button to select a Cost Center from the lookup. Leave this entry blank to print all Cost Centers.
Job ID
Enter a Job ID code to print the sales analysis report for a single Job ID. Press [F4] or click on the lookup button to select a Job ID from the lookup. If you leave this entry blank, the report will include sales for all Job ID’s.
Customer #
Enter a customer account number to print the report for a single account. Leaving this entry blank will includes sales for all customers.
Division #
Enter a division number to print sales for a specific division. Leave this blank to print sales for all divisions.
Salesperson #
To print a report for a single salesperson, enter the salesperson # here or select it from the lookup. Leave this selection blank to print all salespeople.
Sales Type
You can select a specific sale type (e.g. taxable, non-taxable, labor, etc.) to print the report for or include all sale types.
Summary Report
Select this box to print only subtotals instead of printing all of the detail lines.
Double-space Report
When printing a detailed report, select this box to print an extra blank line between each detail line.
Ordering
Click on this button to rearrange the order in which information appears on the report.
Customize
Click on this button to select which columns will appear on the report.
Subtotal Level
This option allows you to select which subtotals will appear on the report. This will depend on the fields that you have selected for the report using the Ordering button. Subtotals will be printed for the field that you select as well as each field in the ordering sequence above the option that you select.
Excel Filename
The data for the report can be exported to an Excel spreadsheet by entering a filename here. Make sure that you enter a valid path and filename, and that the filename that you enter is not already open in Excel. The spreadsheet will contain the same columns that you have selected using the Customize button, including headings for each column on the first row of the spreadsheet.