Assets
The Asset Entry file is where you will enter and maintain all of the specific information for each vehicle or piece of equipment and set up the scheduled services. The information maintained in this file includes the department using the vehicle, the year, make and model, VIN/Serial #, License number and expiration date, current mileage, scheduled services, and more. Information contained in this file is used throughout the program.
Example By entering the department, you can get an Asset List by department. Other reports can also be specified by department. The Registration Expiration date is used when printing an Expiring Registration Report. The Scheduled Service information is used for automatically generating Work Orders for scheduled maintenance.
Go to File Maintenance > Assets.
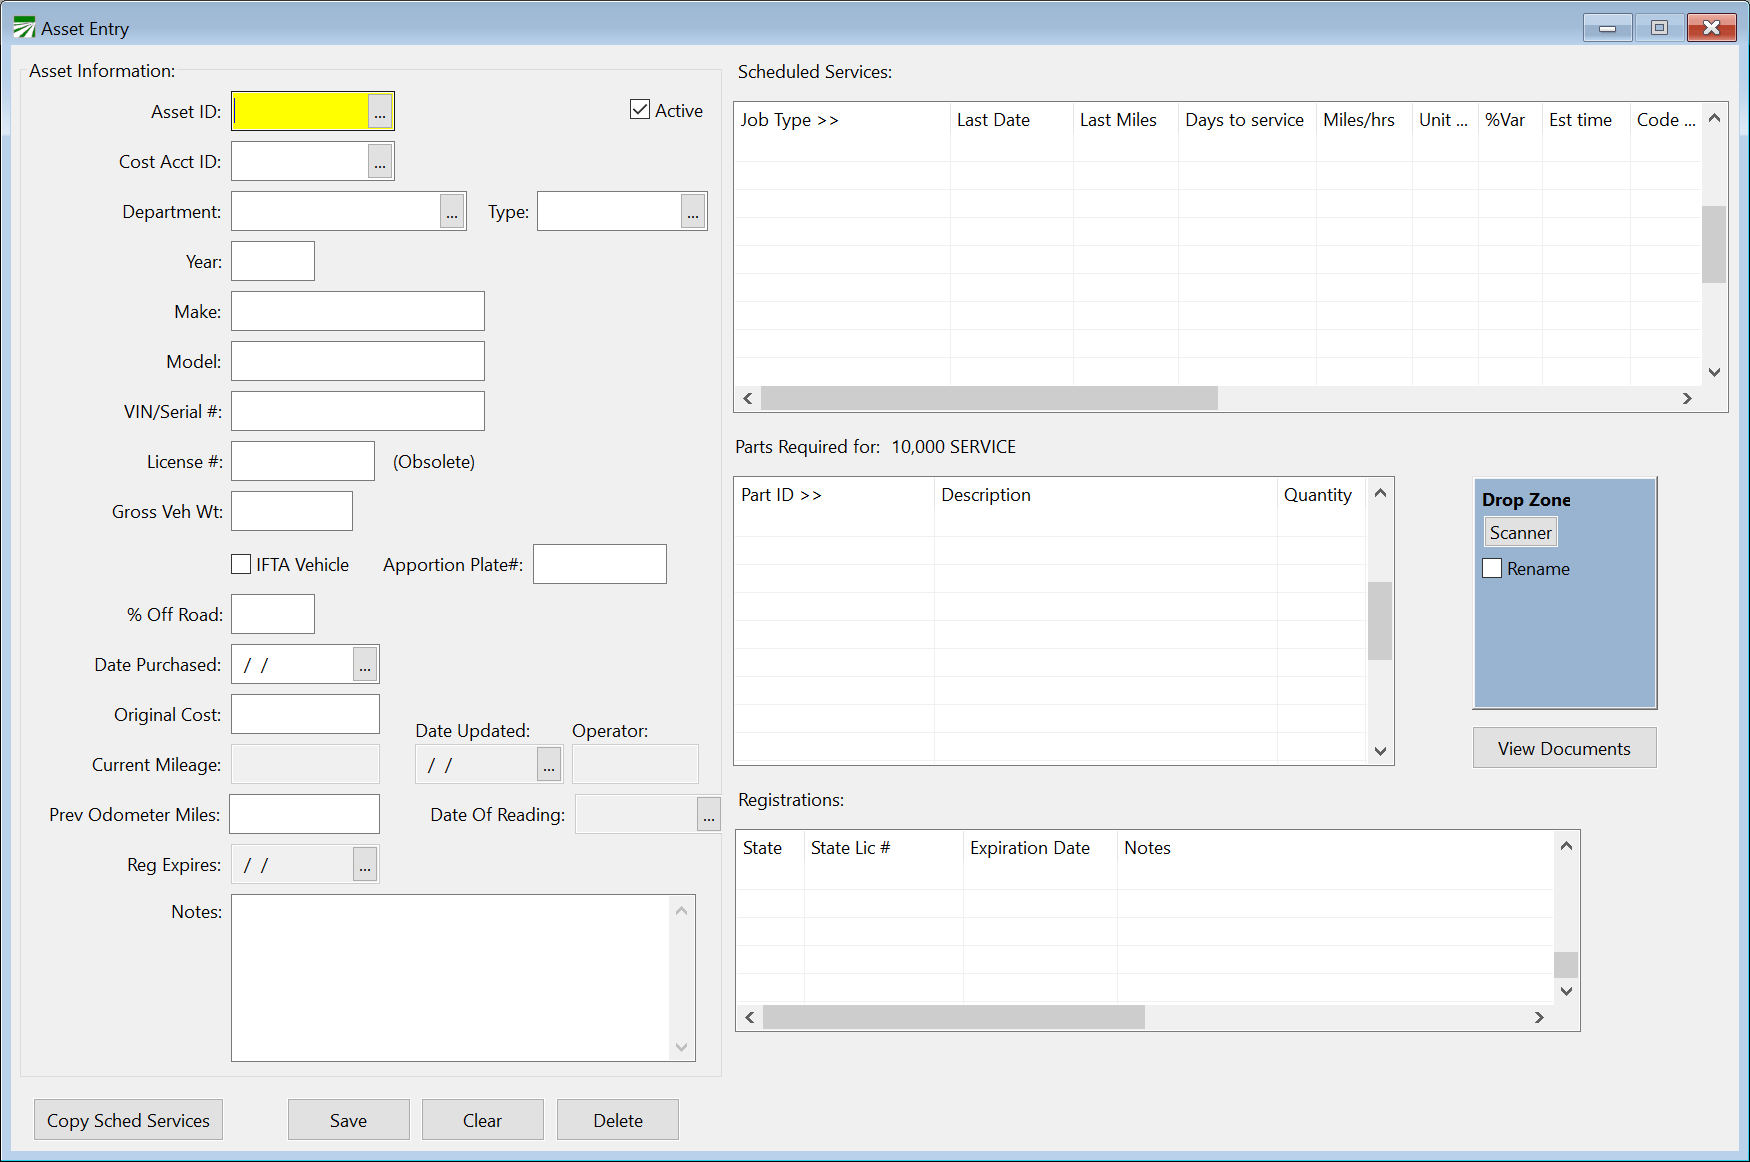
Asset ID
You need to assign each asset its own unique Asset ID # of up to ten letters or numbers. Use a code that is short and easy to remember. For instance, you might use a numerical ID like "100" or a description such as "ToyHarv01".
To edit a vehicle that has already been saved, you may pull it up by typing in the Vehicle ID and pressing enter or by selecting it from a lookup window. To view the lookup window, press [F4] or click on the lookup button.
Active Flag
If you are entering a new vehicle, the Active button should be checked. When a vehicle is no longer used, the vehicle can be set to inactive by clicking the button to uncheck it.
Department
Enter the department name. You may press the [F4] key or click on the lookup button to see a lookup window of departments.
Type
Enter the equipment type. You may press the [F4] key or click on the lookup button to see a lookup window of equipment types.
Year
Enter the year the vehicle was manufactured.
Make
Enter the make of the vehicle, such as Toyota or Caterpillar.
Model
Enter the model of the vehicle.
VIN/Serial #
Enter the VIN or Serial # of the vehicle.
License Num
Enter the license plate # of the vehicle. (Obsolete, license #’s should be entered in the Registration grid).
Gross Vehicle Weight
Optional entry.
IFTA Vehicle
Check this box if applicable.
Apportion Plate #
Enter if applicable.
Percent Off Road
Enter if applicable.
Date Purchased
Enter the date purchased.
Original Cost
Enter the original cost.
Current Mileage
Enter the current odometer reading on the vehicle. This will be updated automatically as fuel tags and maintenance records are entered.
Operator
Enter the vehicle’s primary operator.
Reg. Expires (OBSOLETE)
Tip This entry has been replaced by the registration grid below.
Notes
Enter any additional notes regarding the vehicle.
After entering the notes you will be prompted to save the vehicle. Answer Yes and then you can proceed to enter the scheduled maintenance for the vehicle.
Scheduled Service
Note If you have already entered scheduled services for a vehicle and would like to copy the same services to another vehicle, see instructions below under “Copy From.”
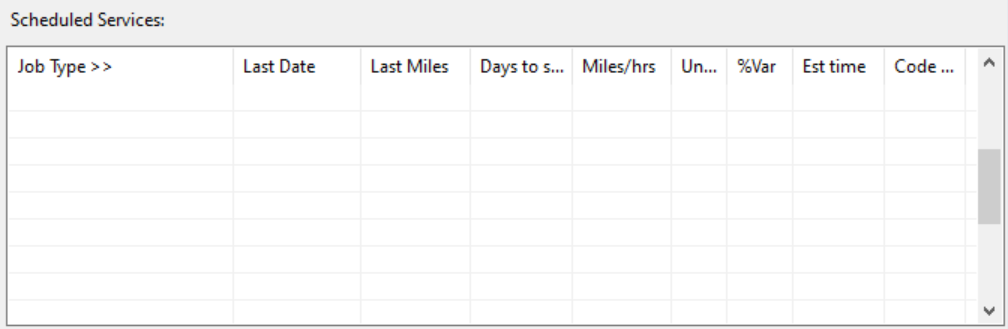
Job Type
Enter the job type. You may press the [F4] key or click on the lookup button for a lookup window of your job types.
Last Date
Enter the last date that this job was performed.
Last Miles
Enter the odometer reading from the last time this job was performed.
Days to Service
Enter the number days between services. You may leave this as zero if you perform the service only according to the vehicle’s mileage or hours.
Miles/Hours to Service
Enter the number of miles or hours between services. You may leave this as zero if you perform the service only according to days between services.
Unit
Enter M if the previous entry was number of miles, or H if the previous entry was number of hours.
% Variance
You may enter a percentage of variance. For instance, if you enter a 3000 mile maintenance with a 10% variance, this will show up on a Scheduled Maintenance Job Report at about 2700 miles.
Estimated Time
Enter the estimated time for this service.
Code
Select the task code that corresponds to this job. You may press [F4] or click on the lookup button to see a lookup window of your task codes.
Copy Scheduled Services
To save you time in entering scheduled services on like vehicles, the “Copy Sched Services” button will copy Scheduled Services and Parts Required from one vehicle that has already been set up to another vehicle.

-
Open the vehicle you want to copy services to.
Note Services need to be set up on another vehicle.
-
Click Copy Sched Services.
-
Select the Vehicle Acct # of the services you would like to copy to the current vehicle.
-
Click Copy. This will fill in the Scheduled Services and Parts Required fields.
Parts Required
To enter parts required for a specific service, you must first click on that service under Scheduled Services. Note that the service name will then appear next to “Parts required for.” You may then start your entry of parts required. When you are finished with the parts entry for a particular service, you may select another service under Scheduled Services and enter the parts required for that service.
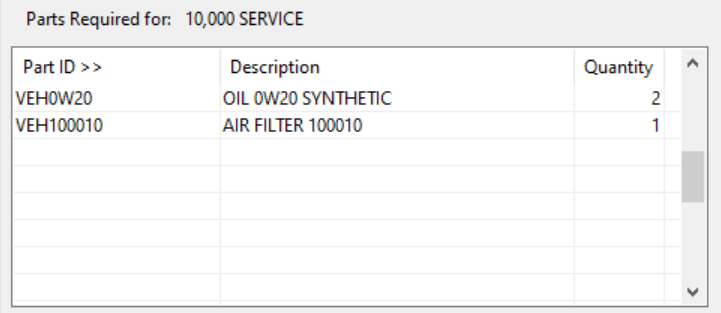
Part ID
Enter the Part ID. You may press [F4] or click on the lookup button for a lookup window of your parts.
Description
The description will automatically appear when you select the part ID.
Quantity
Enter the number of this part required for the service.
Vehicle Registrations
This is the vehicle registration grid entry:
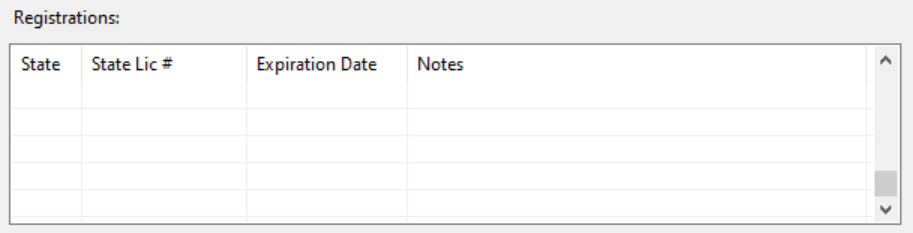
All vehicle registration or permit information can be entered here. Most vehicles will have one entry, but if a vehicle is licensed in more than one state, or there are other permits that you need, you can enter them here.
There is an Expiring Registration Report you can print that will list all vehicles that have a renewal due within a given look-ahead period. The number of days for the look-ahead period is set in the system file.
For each registration, enter the State, the State License # and Expiration Date. There is also room for an additional note.
As with other grid entries, when you enter a line and then drop-down to the next line, the entry is automatically saved. You can use [Shift] – [F2] to delete a line that is incorrect.