Parts
The Parts Entry window is where you will enter all parts you keep in your inventory and will need for jobs. You can also keep track of your cost for each part in this file. You may access this file to assign parts to Work Orders.
If you are tracking your parts inventory, this is where you will enter all parts in your inventory. Then, you will enter Inventory Purchases using these parts under the Data Entry menu.
Go to File Maintenance > Parts.

Inventory Tab
Stock or Dept/Stock:
Enter the Stock number for this part.
Note If you would like to use Departments, you must enable this first by going to Tools > FarmFleet Program Setup > Inv Dept Requiredand select Yes. This can only be enabled by Datatech Support. The first characters must be the one-, two- or three-character code set up for the department. Then you may enter up to 15 characters for the stock number.
Description
Enter the description of the product.
Department (Optional)
This is a custom option. If you are interested in using this feature, contact Datatech Support.
Equipment Type
Enter the Equipment Type that this part is used for. This is an optional entry unless you have made it a required entry in the system file.
Product Code
Enter the product code here. An entry is required in this field, and you will see an error message pop up if you try to skip it. Produce Codes in FarmFleet are used to further track parts by grouping like items together.
Example If you would like to track assets specifically related to oil changes (such as oil, oil filters, etc.), each of these products should be assigned to a designated group of numbers. For example, you could use numbers 1–10 to categorize all oil change-related assets. This way, when generating reports, you can easily filter by this group range to view only the assets used for oil changes.
Note If you are not using Product Codes, you can simply enter a blank product code to use each time.
Sales Division
If you would like to assign a GL account to this inventory item, first setup the Sales Division, then select it here.
Unit Type
Enter the unit type. In most cases you can simply enter EACH or EA.
Billing Unit
Enter the Unit Type above for billing unit.
Conversion Factor
Enter 1.
Purchase Price Unit
Select Each.
List Price
This can normally be left blank, since you are not selling the parts.
Intangible
Select No to track inventory balances, Yes if you are not tracking inventory balances.
Last Vendor
Optional, you can enter the vendor # of the last vendor from whom you purchased this item. In the future, the program will automatically fill this in from the purchase orders you create.
Subject to Sales Tax
Check this box if you have to pay sales tax on this item. If you have set up a sales tax rate in the Program Setup, and you check this box, the program will calculate the sales tax on the part you enter through the Purchase Order program.
Save
Click Save to save the entry.
Balances on hand and costs will be set up separately from a purchase order entry.
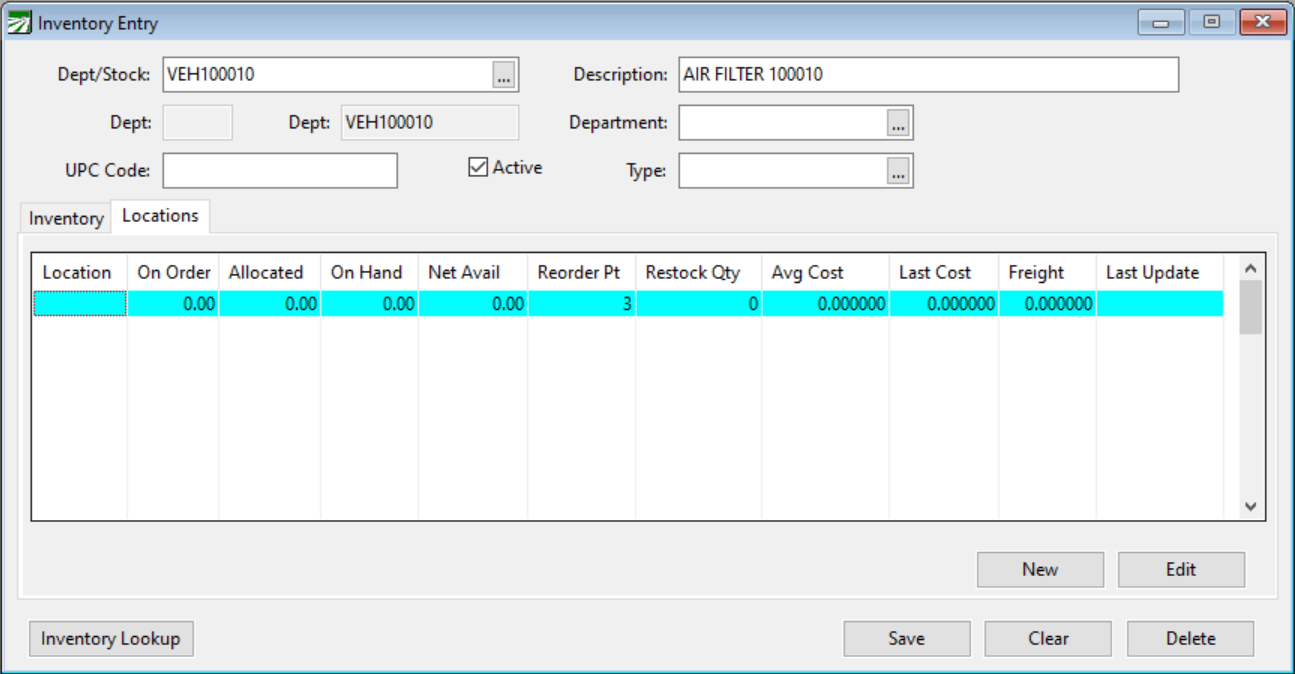
Locations Tab
The Locations tab will display current balances and costs once they are entered. There will be an entry on this tab for each location that you have set up.